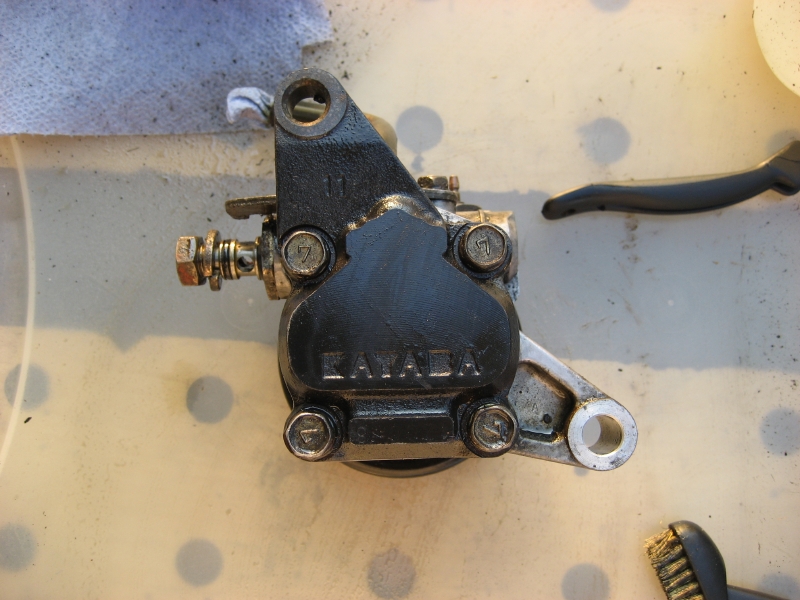
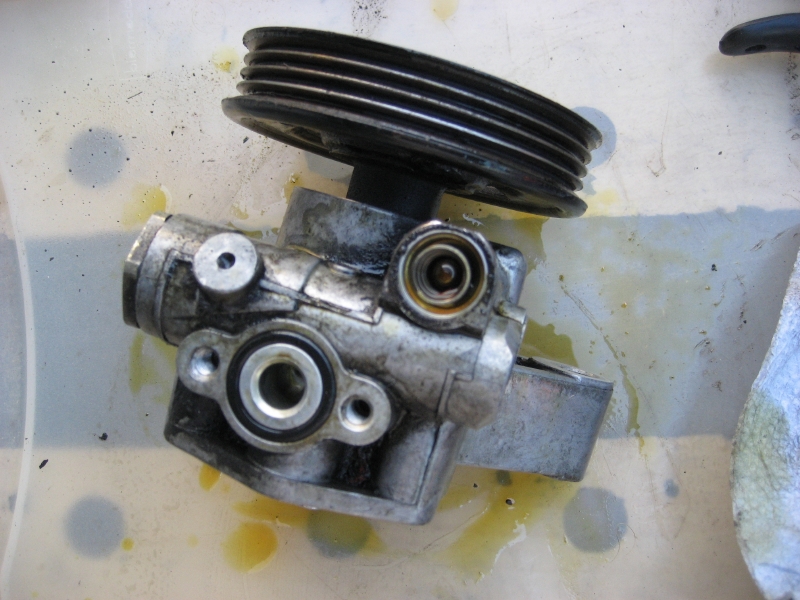
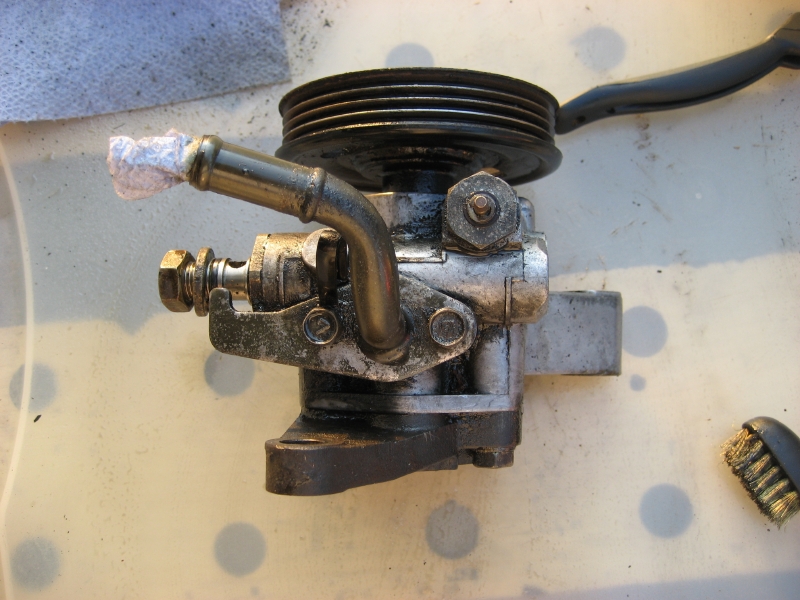
Steering: Rebuild Pump
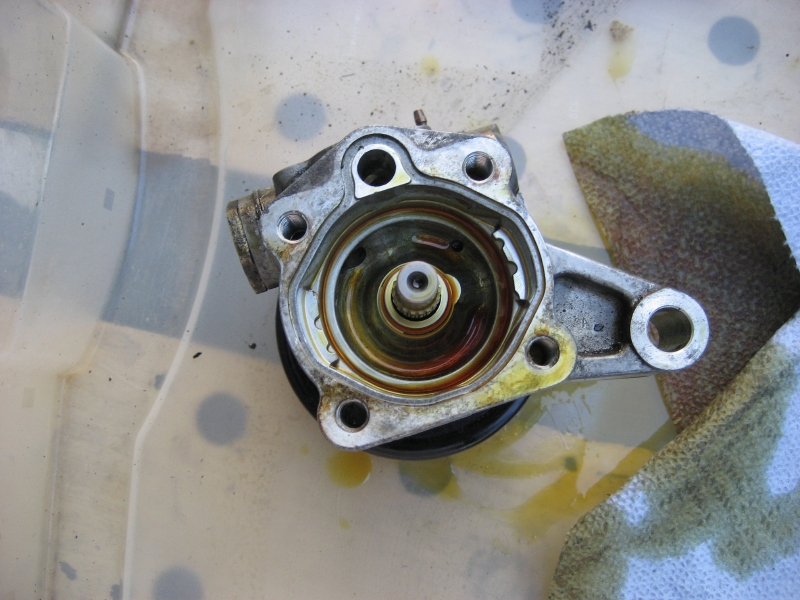
Before dissembling be sure to clean off all debris so it won't get into the internals later.
Inspection[edit]
- Check the flow control spring for wear
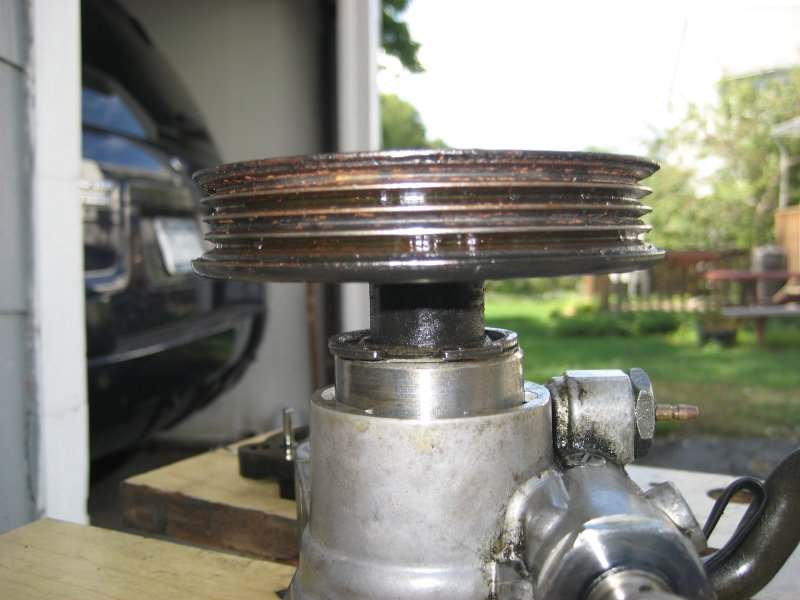
- Check the shaft of the pulley for play and round movement
- Check the groove of rotor vane for stepped wear
- Check the contact surface of cam ring and vanes for stepped wear
- Check the vanes for breakage.
Vane/Rotor gap should not exceed .06mm.
Process[edit]
Rotor[edit]
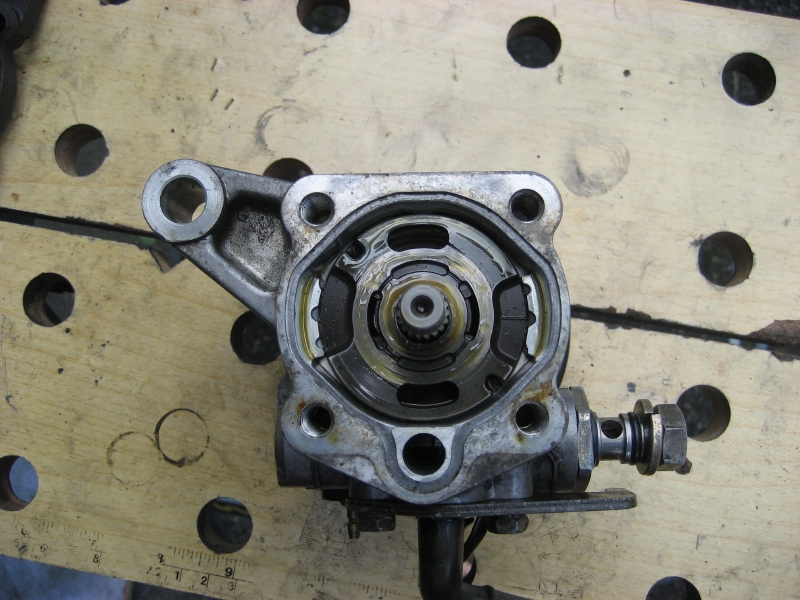
Start by removing the four bolts holding the end cover.
Pull the end cover off.
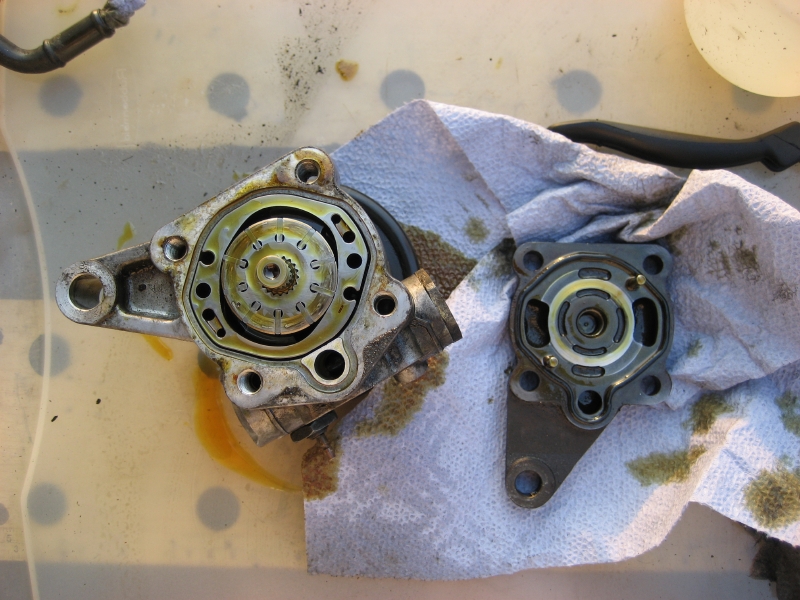
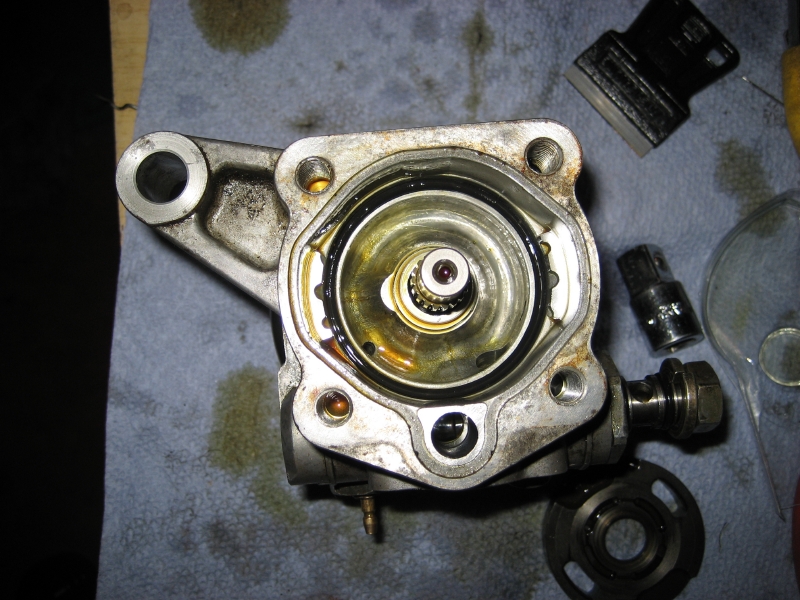
Before pulling out the cam ring (outer oval shaped) make a mark on the pump body to match the dash on the cam ring for reinstallation.
Pull out the rotor and vanes(you may have to remove a c-clip at the end of the shaft, if so be careful as the pully and shaft will drop right out). The vanes are not attached to the rotor and will fall out so be careful.
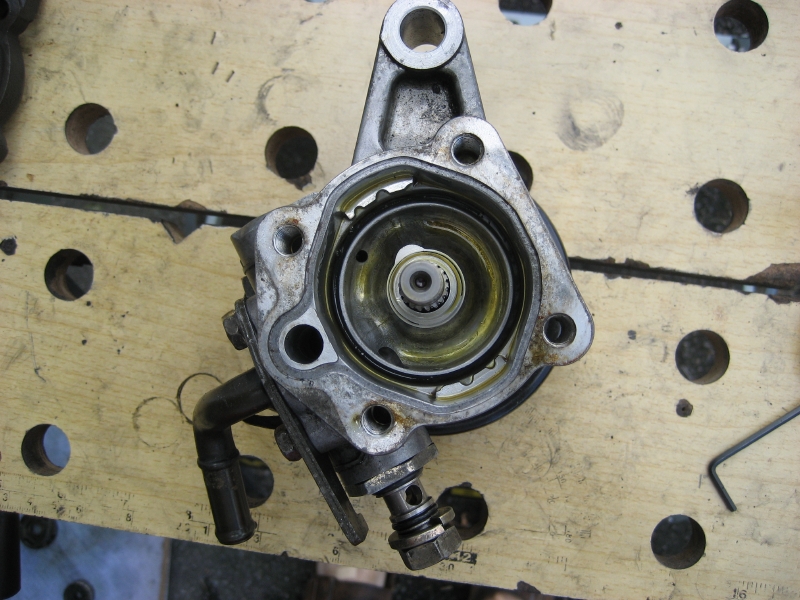
Before pulling out the side plate make a mark on the pump body to match the line on the plate for reinstallation. I used two allen wrenches to get under the two bean shaped holes to pull it out (it can be stuck pretty good).
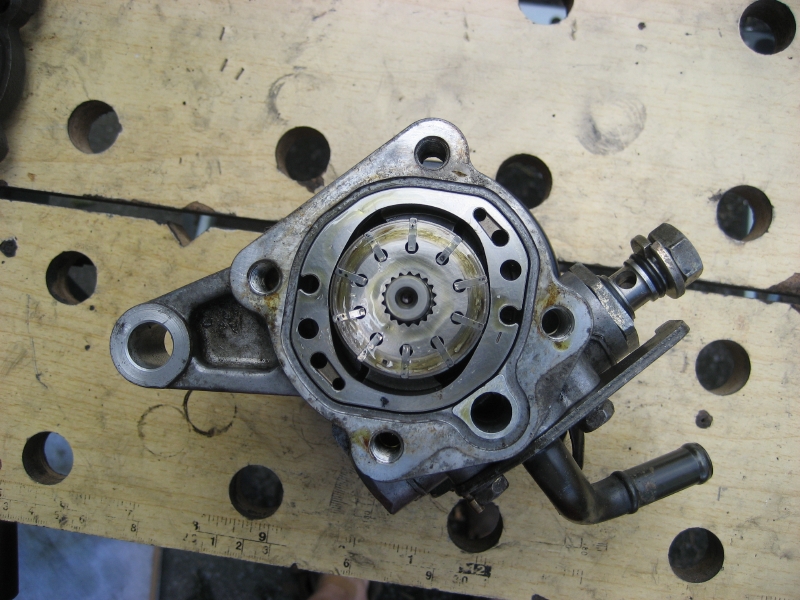
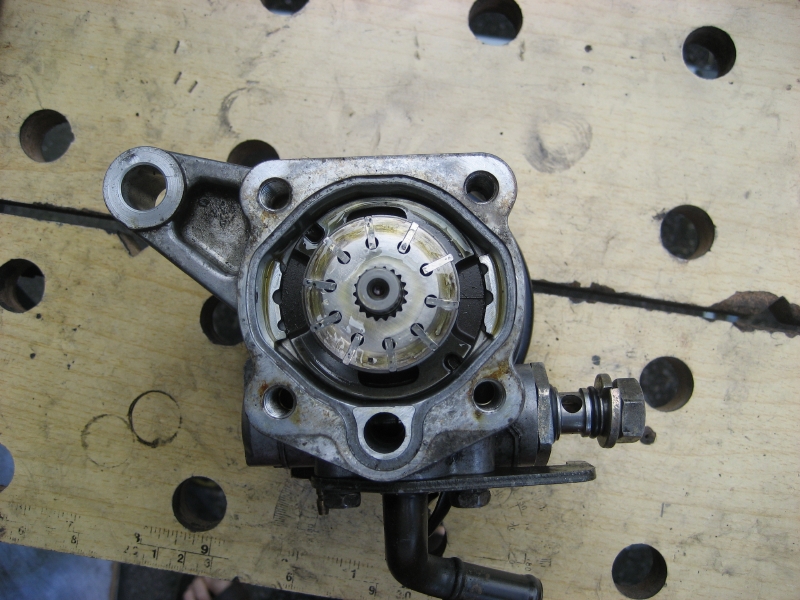
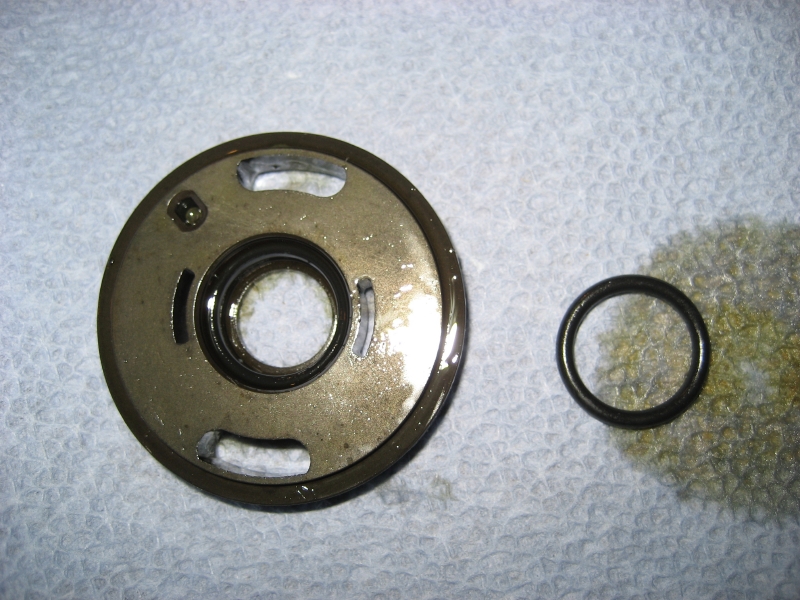
There are two different versions of the pump. One has a bearing the other does not. If you have type B, with a bearing mitsu does not have a replacement oil seal for the pully shaft. However, when I bought my rebuild kit from carquest it did come with the smaller seal for the type B bearing pump. If you have a snap ring underneath the pully then you have type B.
Here you can see the housing, bearing pushed out, and snap ring to hold it in place. The bearing is pressed on the pulley shaft. This is a type B pump.
After removing the snap ring you can tap/press the shaft out to replace the oil seal(car quest kit only). Here you notice the lip that holds the snap ring is broken. I did not know it was there :( and broke it thinking the shaft bearing was pressed in alone. You can see the black seal to replace.
If you have type A there is a c-clip at the end of the rotor. After removing the clip the pully shaft drops right out with a few taps and you will be able to replace the oil seal.
When replacing the following seals work in a clean enviroment and coat with power steering fluid. Also note oring sizes, they are very close to be sure to choose the right one.
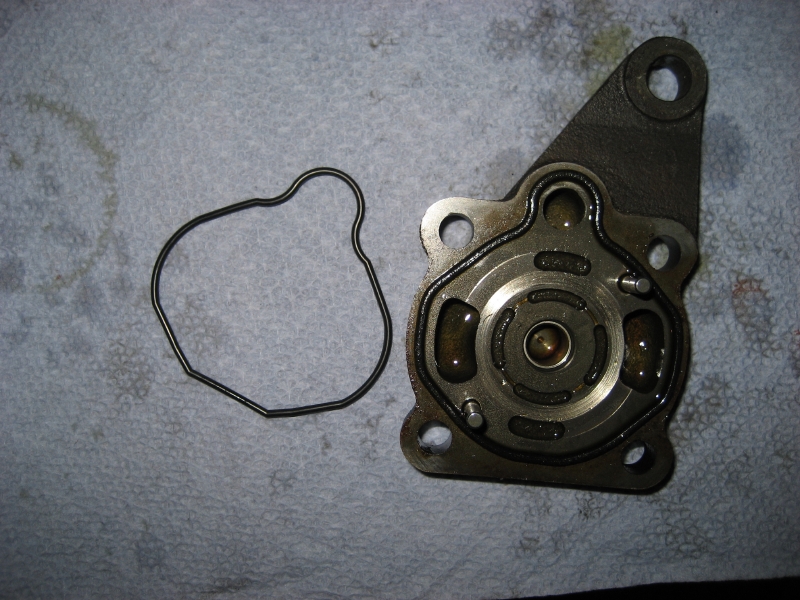
Pull out and replace the oring seal(it may have come out with the cam plate).
Replace the oring underneath the cam plate and reinstall it matching the marks you made earlier. The oring is 16.8mm ID x 2.4mm width. This is a tight fit.
Reinstall the cam ring and rotor. If one of the vanes falls out, the curved side should be pointed toward the cam ring. If you have a c-clip reinstall that to lock the pully shaft.
Remove and replace the cover seal. The four bolts tigthen to 14ft lbs.
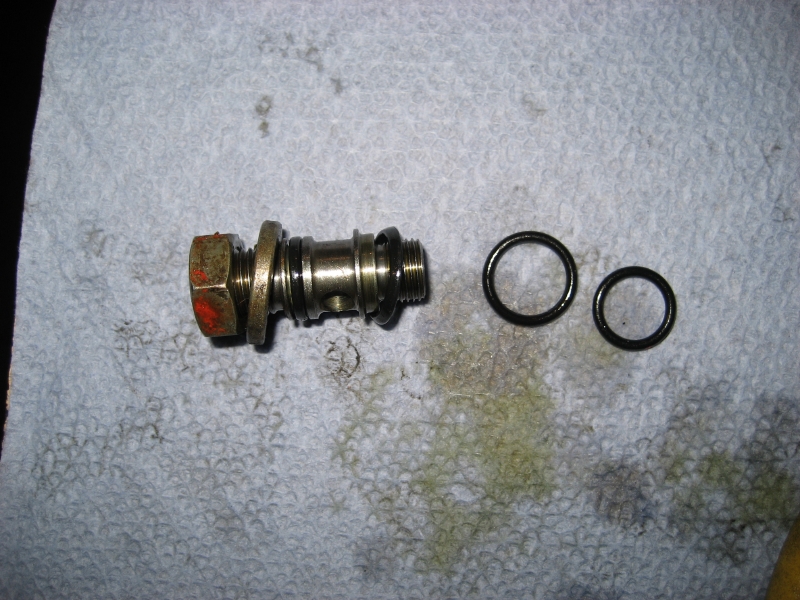
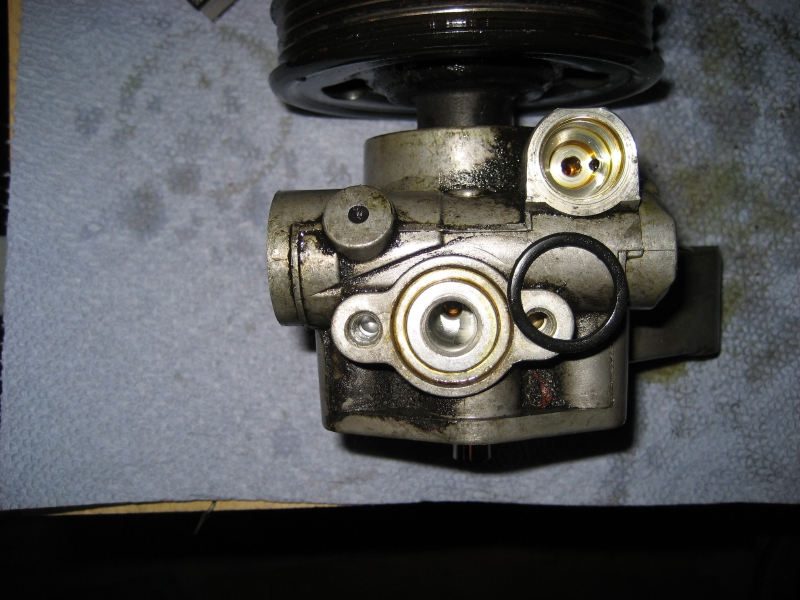
Valve[edit]
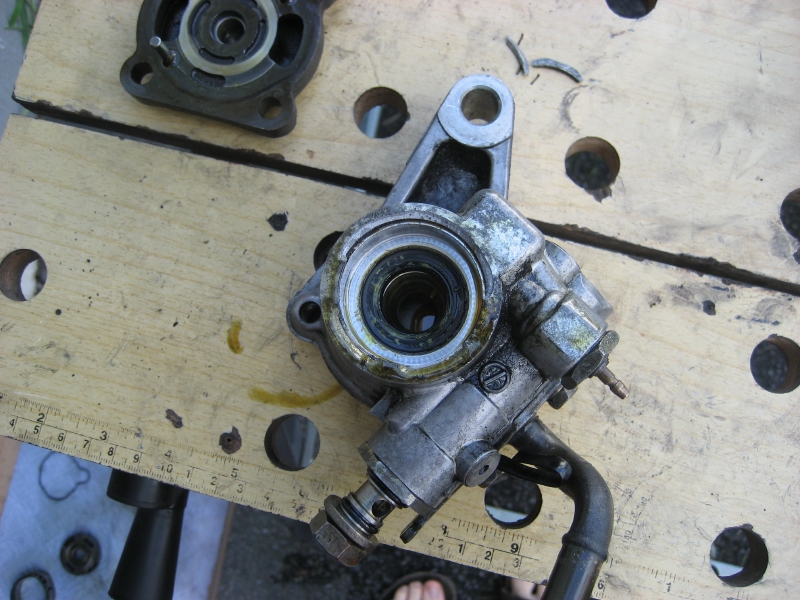
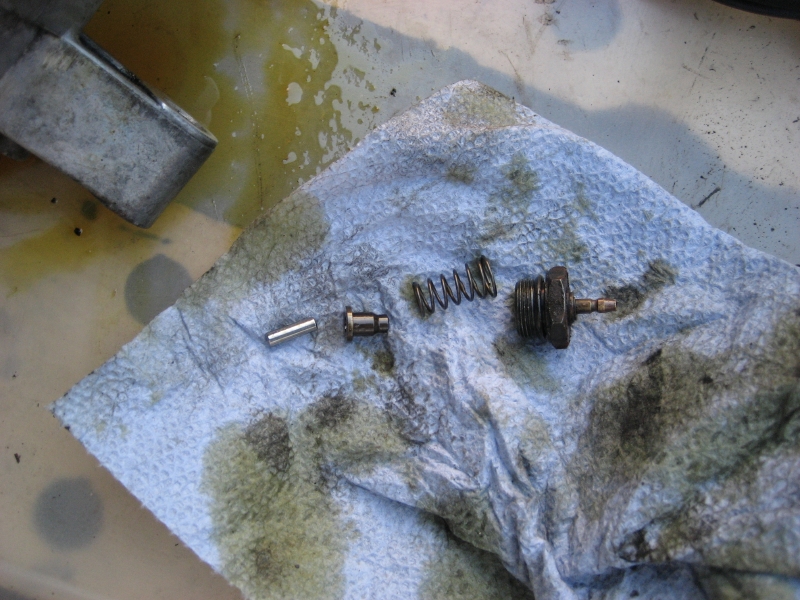
Unbolt the side plate as one assembly, mine came apart(thing on the right should stay bolted in as one).
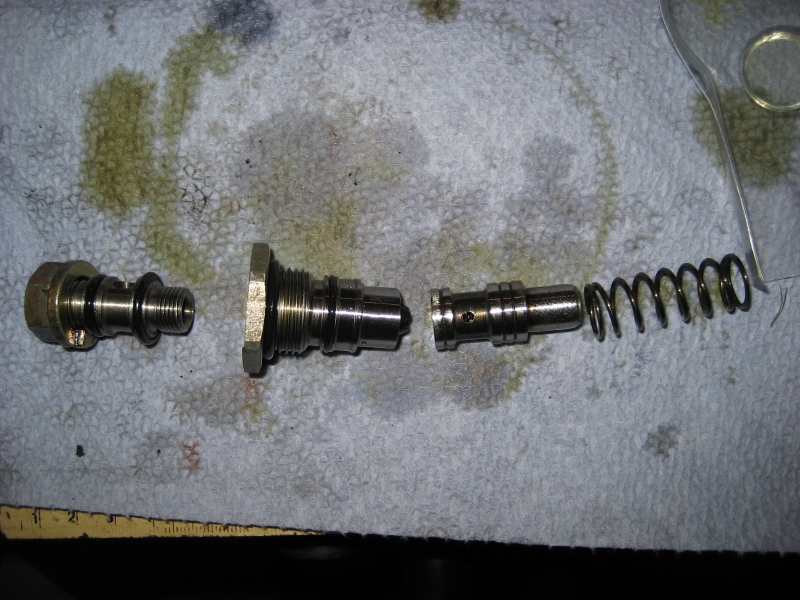
You can then pull out the flow control valve and spring.

Replace the two orings.
- 17.8x2.4
- 13.5x1.5
Other two on the connector.
- 11x1.9
- 13x1.9
Reinstall the spring, valve and bolt down the side plate to 43 ft lbs.
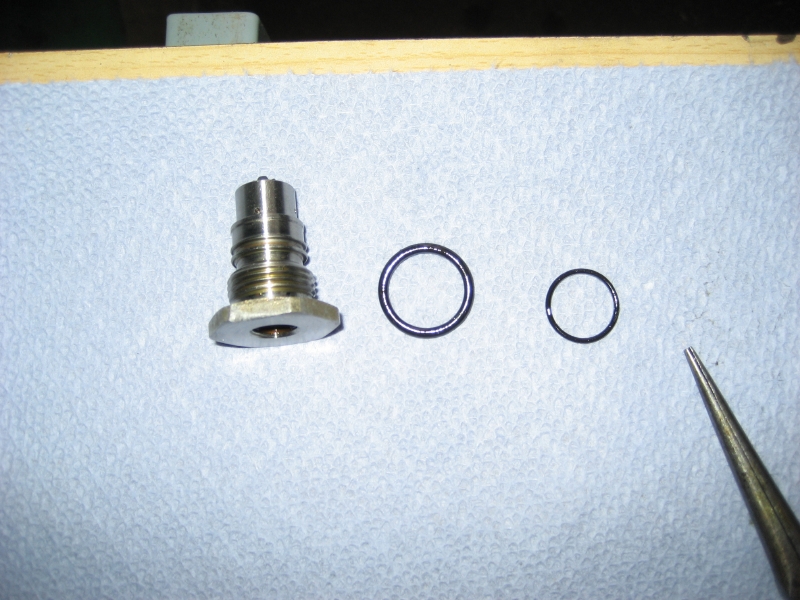
Terminal Assembly[edit]
Unbolt the assembly.
Pull out the spring, plunger, and piston rod.
Remove the clip on the assembly and push out. There will be a washer, pring, and insulator. The insulator should be in one piece, mine was broken in half. Replace the small oring. 3.8 x 1.5
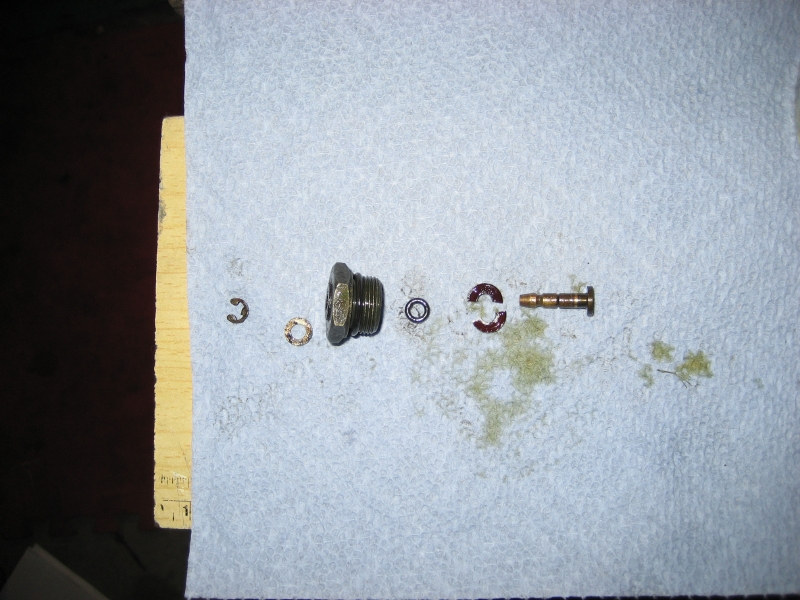
Replace the larger oring. 13x1.9( same as one of the valve connectors ).
Reassemble the terminal, install the piston, plunger, spring, and terminal torqued to 16-22 ft lbs.
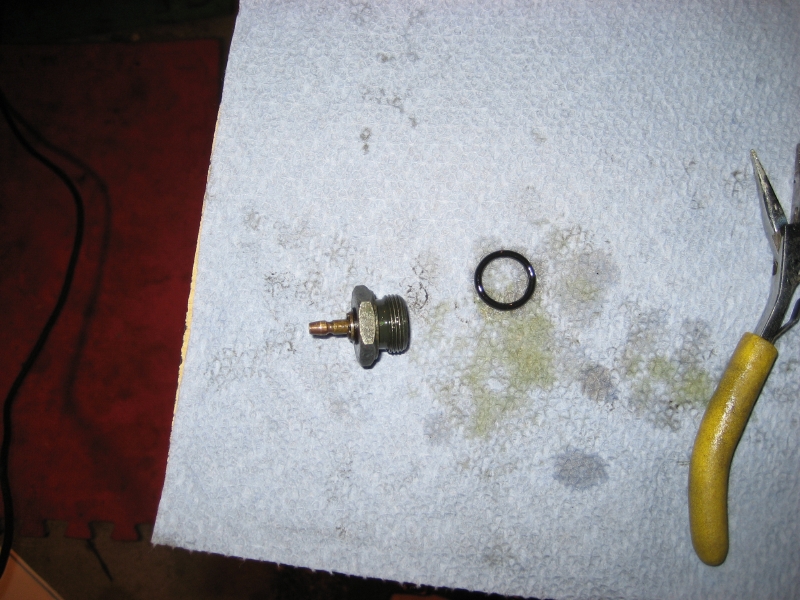
Suction Connector[edit]
Unbolt the connector.
Replace the oring. 17.8x2.4(same as one of the valve connectors).
Reinstall connector and wire clip. Torque to 6 ft lbs.
If you have any specific questions you can contact me on 3si forum username 'Toni'