Lights: Replace 1991-1993 Fog Lights
Contents
Taking out the Fog Lights[edit]
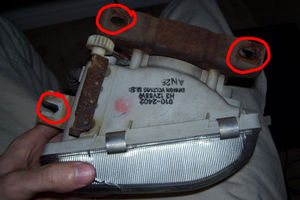
First you will want to read the beginning step from gtouk's front aero overhaul. This will show you how to open up your active aero to gain access to the underside of the fog light assemblies. Each fog light assembly has three bolts holding it into place. There will be one fairly low down towards the centre of the car. One higher up away from the centre and one in behind the fog lights assemly higher up. If you have bendable arms like me, you will be able to reach in and feel around (I didn't know what I was looking for until I felt the bolts and took them out).
Once the fog light is unbolted you will be able to wiggle it out until it clears the front bumper, you will then have to press the clip on the wiring to separate it from the wiring harness.
My front aero is very messed up and rusty so I had a hard time taking things apart down there. It looks to me like I will be needing to take out my active aero motor to gain access to the bolts on the passenger side fog light. I am not sure if you will need to as well.
Taking out the Bulb[edit]
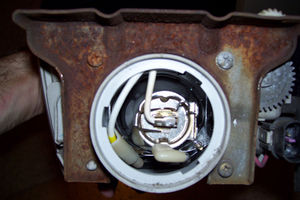
The first step for taking out the bulb is opening the rear lid. It rotates almost 90 degrees counter clockwise and pops out. This will expose the inside of the assembly.
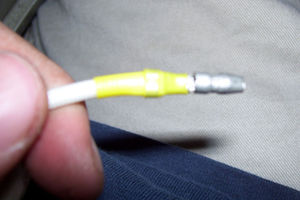
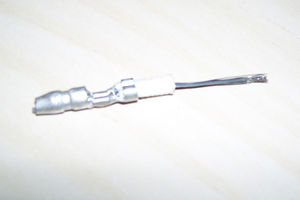
There will be a connector pushed inside, for me it was white. Pull that out if the assembly as far as you can and pull the little white cover back as far as you can. Here you will see the bullet connector and the female portion of it too. I took a small screwdriver and put it in between the two meeting points of the female connector and twisted so it widened them. Then I pulled out the bullet connector.
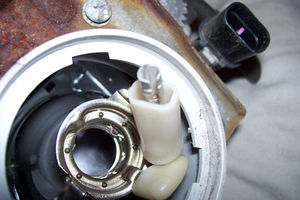
Now you must press the little bent part of the pin down and slide it towards the opening. This is the little thin bar that runs across the back of the bulb. Once it is released you can easily take out the bulb.
Making a New Adapter[edit]
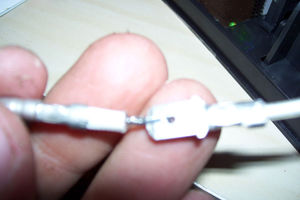
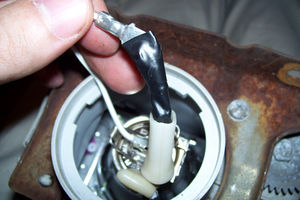
You may have noticed that the connector is a bullet connector and your new fog lights are a spade connector! I have a solution for you! Lock in your new bulb and set the assembly aside for now. What I have done is cut off the old connector with lots of wire to spare and cut off some of the wire covering to expose some wire. Now take your assembly and take hold of your spade connector. It just seemed a little too convenient that there was a hole in my spade connector so I ran the wire through that and back to itself and twisted it to ensure contact. Pretty much the old bullet connector becomes and extension to the spade connector and allows you to plug it back in. The last step to this is to get some electrical tape and cover up the connections as well as you want.
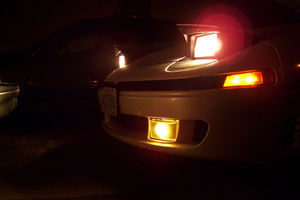
The Final Product[edit]
To achieve this, put it all back together in the reverse order!
CryoVenom 22:26, 4 October 2007 (MDT)
