Lights: Convert to Robo Lights
Contents
Intro & Disclaimer[edit]
This writeup is intended for the 94 style glass headlights. I do not know if this will work for the lexan headlights. I claim no responsibility for what you use this for. Any damage that may result from following these instructions is your own fault. Continue at your own risk.
Removing Your Headlights[edit]
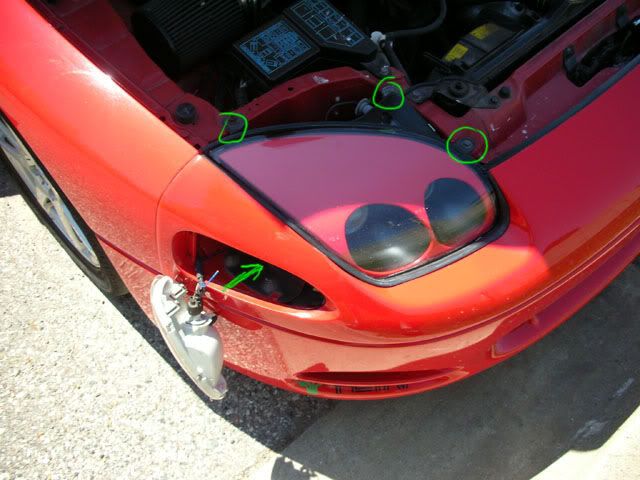
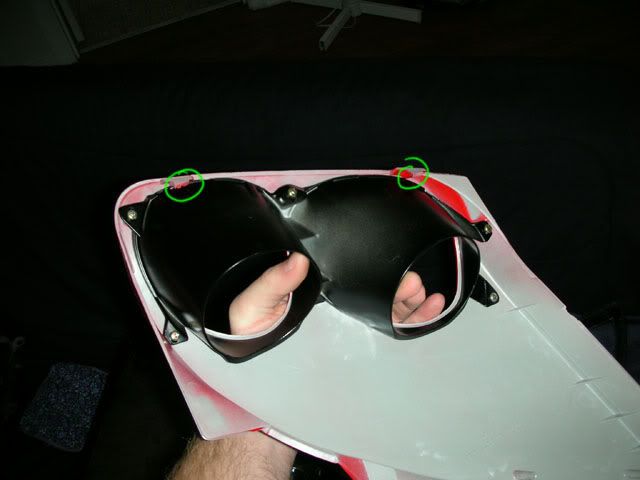
The first step in disassembling your headlights is to remove them from the car. There are 4 bolts you need to remove for each one. 3 bolts are right on top and easy to see, the 4th is hidden behind the parking light/turn signal, so you will have to remove that as well.
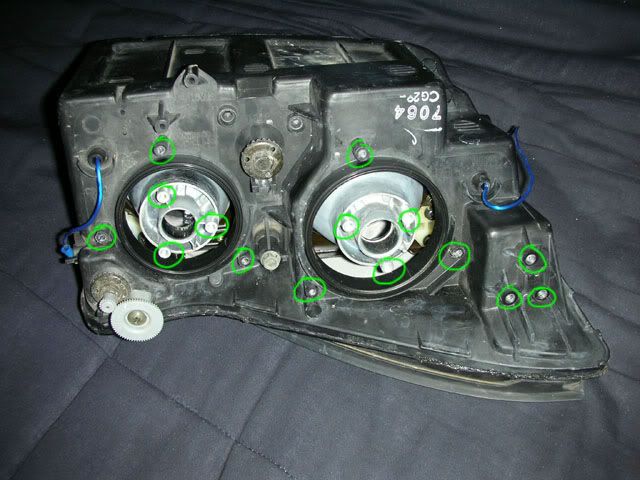
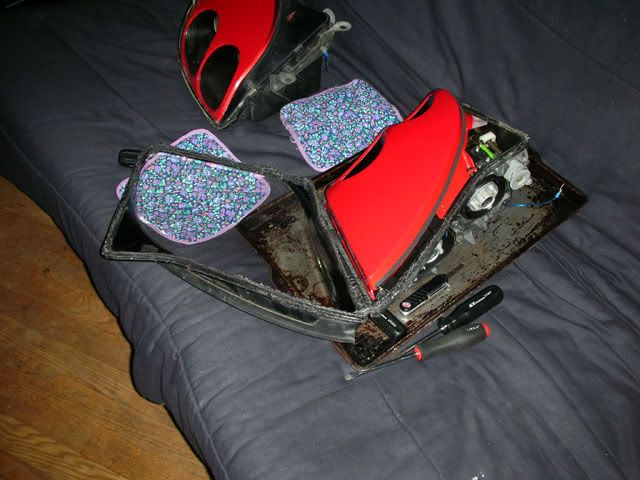
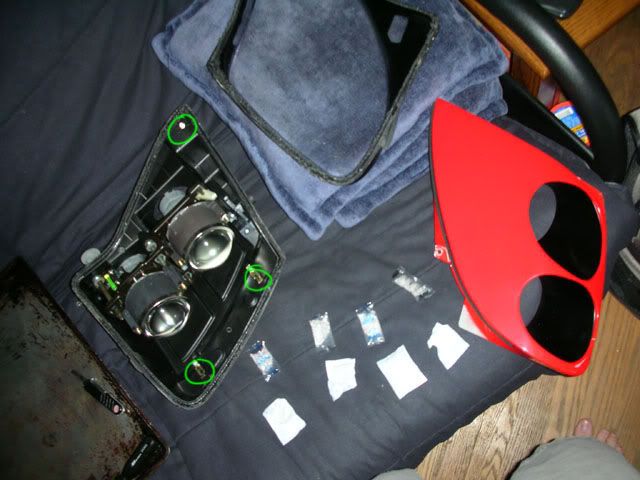
Next you will need to remove the two mounting brackets as well as the headlamp mounting hardware and rubber seals. There are 3 screws on each mounting bracket, and 6 for each headlamp retainer. Here you can see them already removed:
Disassembling Your Headlights[edit]
Next you will preheat your oven to 250 degrees, and while you are waiting for it to heat up, you can remove the 8 steel clips on each headlight that hold the glass on to the body. Now put the headlights in the oven and bake them for approximately 5 to 7 minutes. If you don't want to use your oven, you may aldo use a heat gun to melt the sticky black goo holding the glass to the body.
Be careful when removing the headlights from the oven, as they will be quite hot. Use oven mits or towels so you don't burn your hands. You will need some sort of prying device, like a small flathead screwdriver or a wood chisel, and a knife or razorblade. Be very very careful when prying the glass off the body, it is easy to chip. I prefer to start at the corner nearest to the spirit level, and work my way towards the front. Use the knife or razorblade to cut the glue as you begin to peel it apart. This will make it easier to peel the glass off, and also helps to prevent the glue from sticking to the painted plastic piece, or the glass where you don't want it.
Cleaning Your Headlights (Optional)[edit]
If you are just wanting to clean the inside of the glass, this is where you will stop. I used car wax to clean mine, it removed the scale that was building up, and gave it a very smooth feel.
Performing the Robo Lights Conversion[edit]
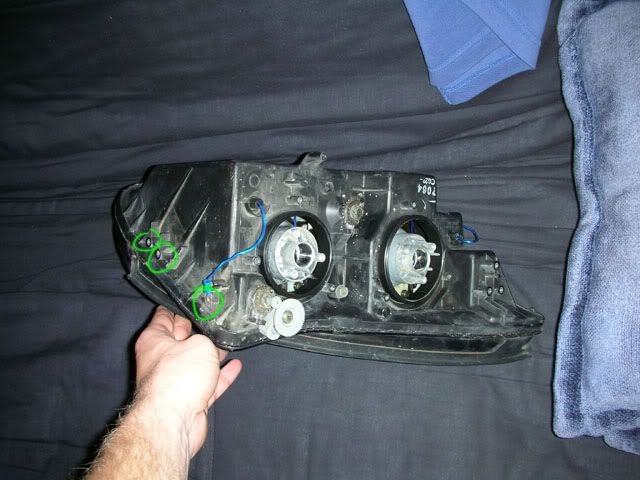
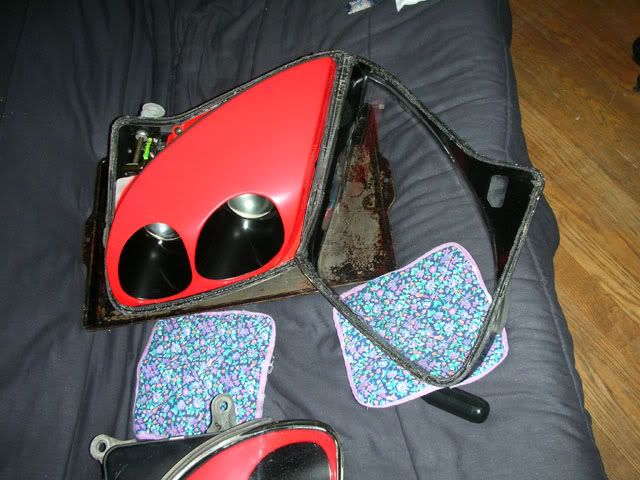
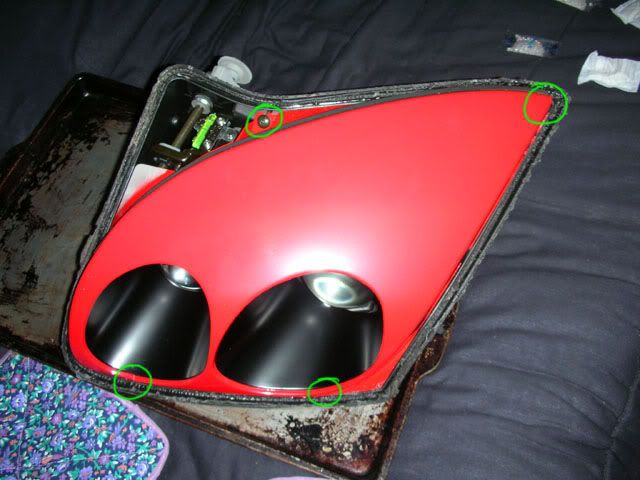
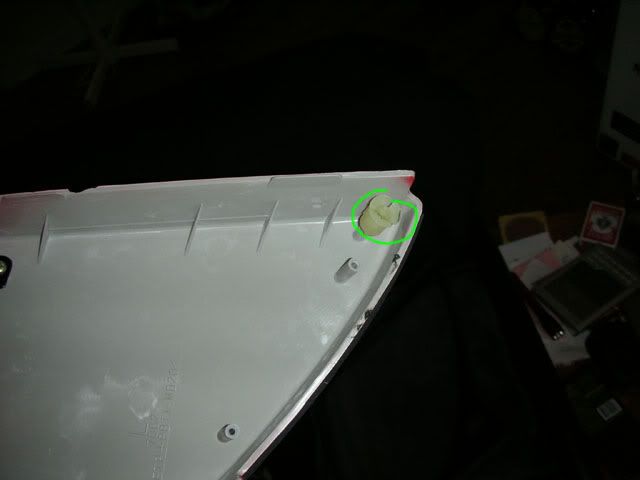
If you are wanting to do the Robo Lights, the next step is to remove the plastic trim piece. There is one screw that you need to take out near the spirit level. After the screw is removed, you will need to unsnap the other top corner by simply pulling up. Remember to be careful, as the plastic is fragile. There are also 2 clips at the front of the trim piece. After removing the top snap, you should be able to slide the whole piece forward, removing the front 2 clips.
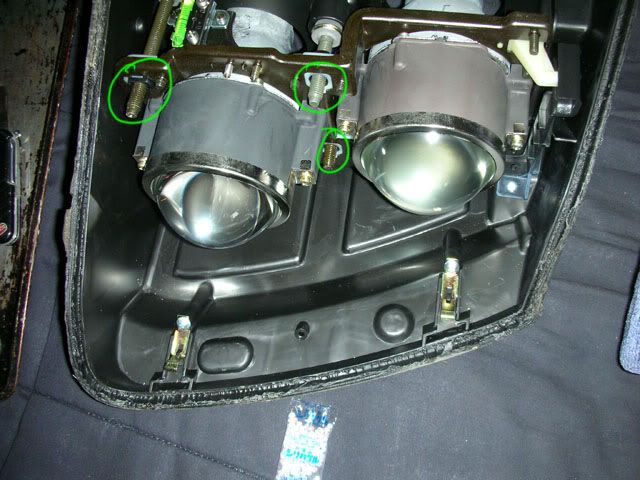
If you wish to remove the projectors, you must take the assembly off the aiming screws. The 2 screws in the middle can easily be turned by a 10mm socket, but the outside horizontal adjustmebt screw must be turned using a phillips screwdriver. Do NOT use a power drill, as this will strip the teeth off the gear.
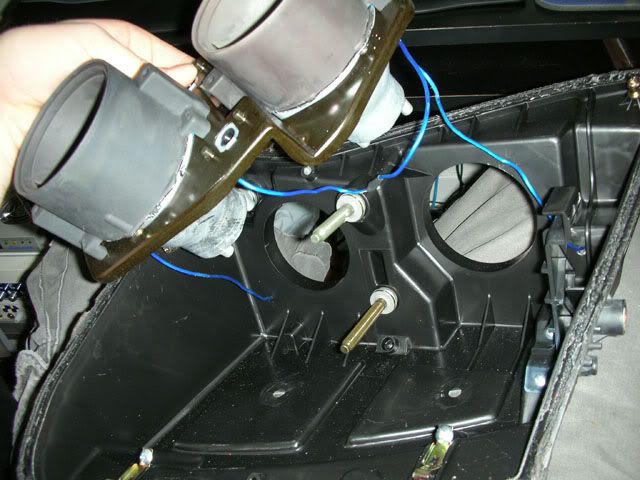
From this point on, they are very similar to the projector foglights. There are 2 screws holding the retaining ring on to the lens in the front, and 4 screws holding the projector on to the aiming assembly. There are also another 2 screws which hold the reflector to the front of the projector housing.